Are you tired of spending hours troubleshooting your electronic circuits only to discover that your measurements were inaccurate? Picture this: you’re working on a critical project requiring precise voltage measurements, but your oscilloscope gives you inconsistent results. Frustrating, right?
Well, fear not because we will explore the fascinating world of calibrating an oscilloscope in this discussion.
We will delve into the intricacies of calibrating oscilloscope probes and the importance of EML calibration.
By the end of this discussion, you will not only understand the fundamentals of calibration but also gain insights into how it can drastically improve the reliability and accuracy of your measurements.
So, let’s get started on this journey towards calibration mastery.
Setting up the Oscilloscope
To properly set up your oscilloscope, begin grounding the device to prevent potential shocks or circuit damage. This is crucial for ensuring the safety of both the equipment and yourself. Once the device is dropped, you can move on to the calibration procedure.
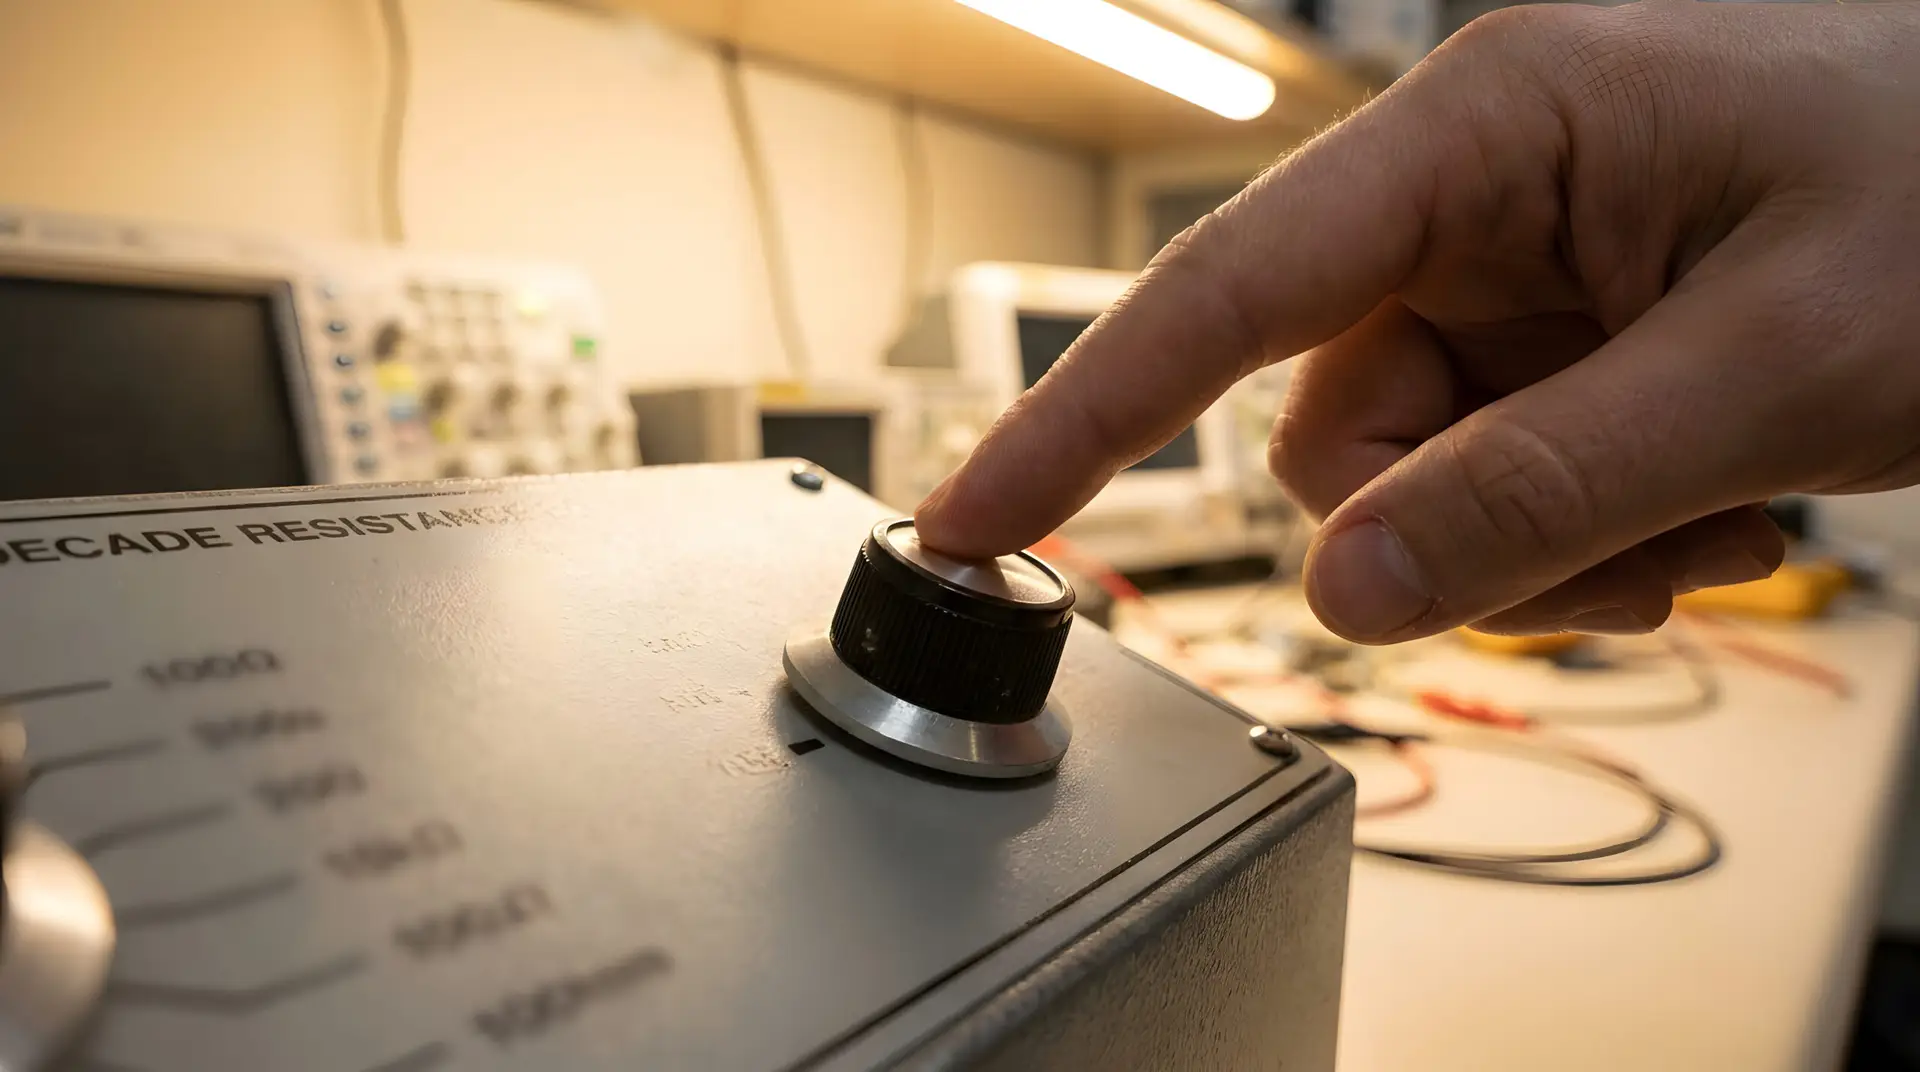
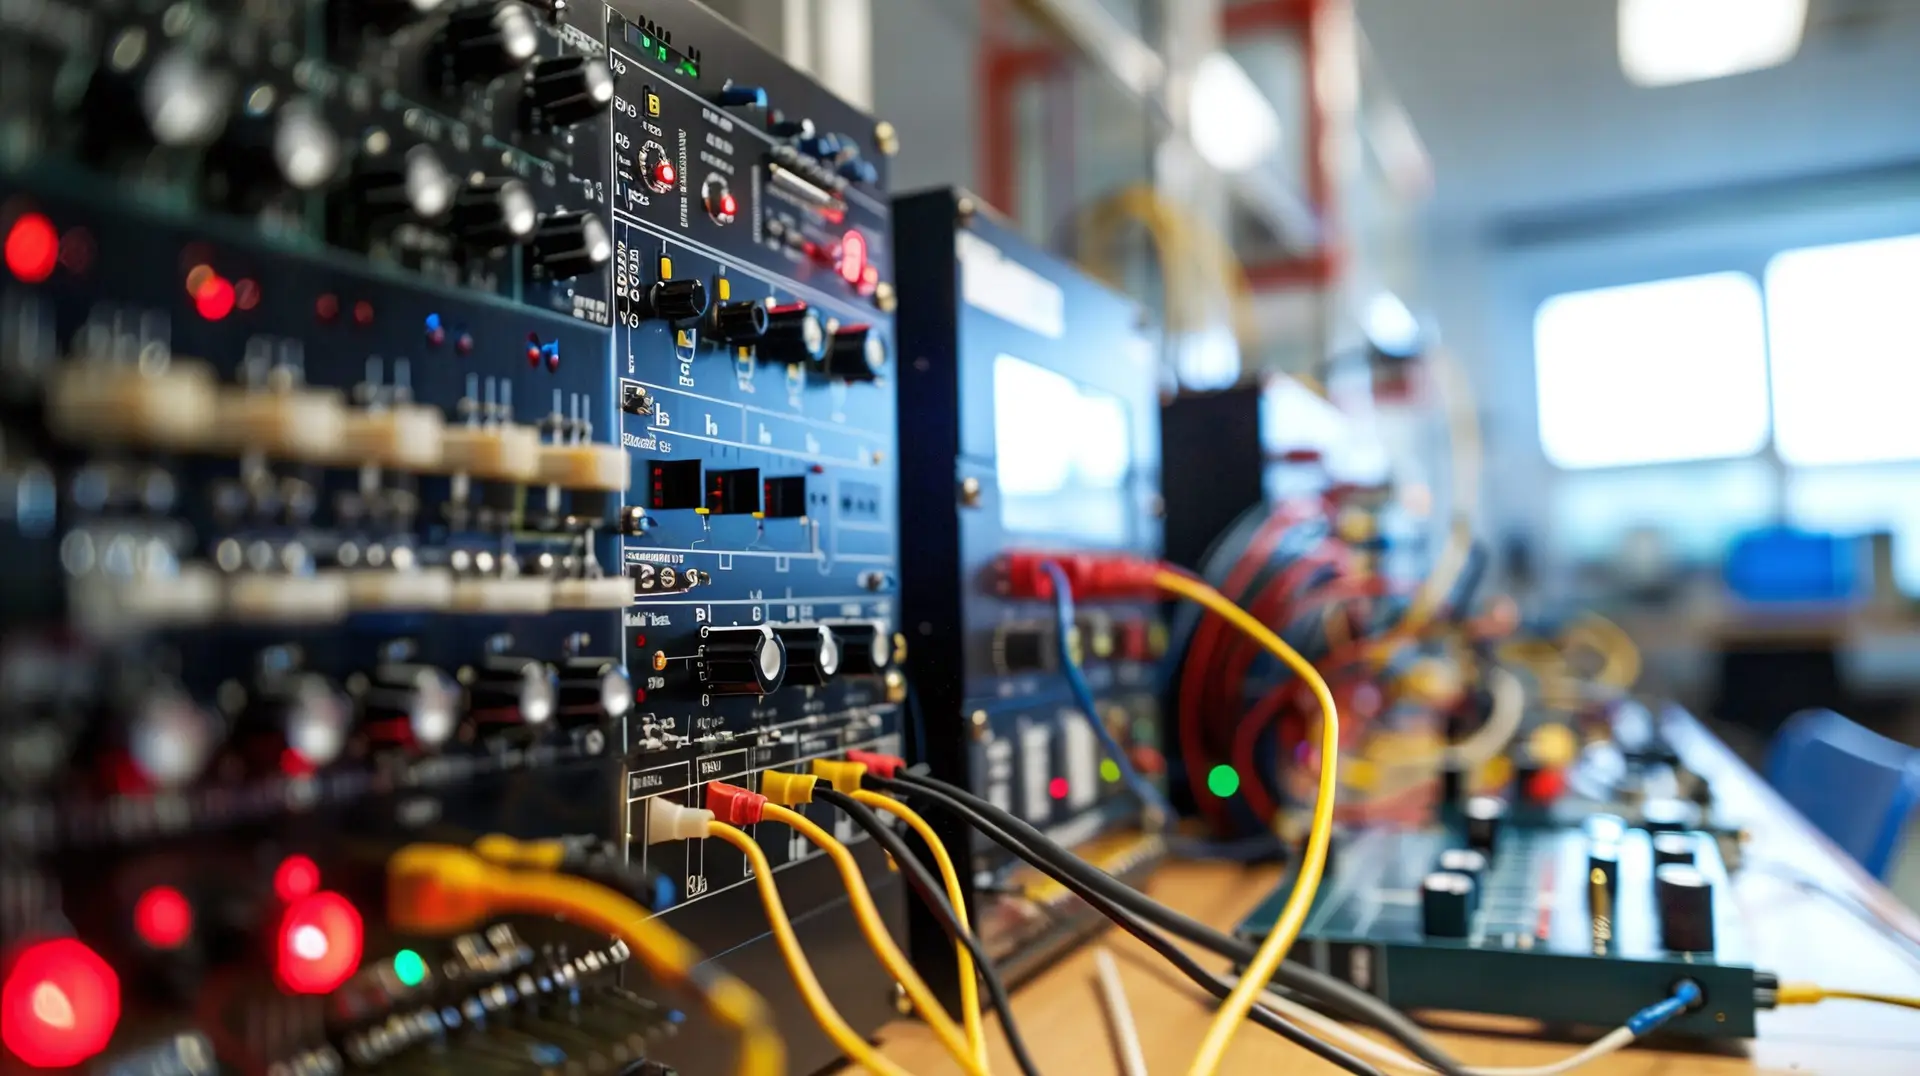
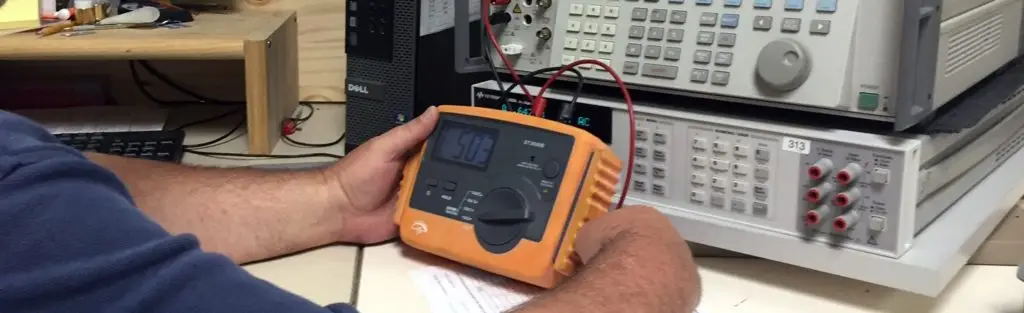
Calibrating an oscilloscope involves adjusting its settings to ensure accurate measurements. Start by connecting the probes to the calibration terminal. These probes are essential for capturing and displaying the input signal on the oscilloscope screen.
Next, adjust the trigger mode and horizontal divisions to capture and display the waveform adequately. The trigger mode helps synchronize the oscilloscope with the input signal, while the horizontal divisions control the time scale.
Once the horizontal settings are adjusted, focus on the vertical scale. This determines the amplitude of the waveform on the screen. Use the oscilloscope calibration procedure to match the known properties of the input signal with the displayed waveform.
Remember to use a clip test probe, preferably an alligator clip, for calibration. This ensures a secure connection and accurate measurements.
Proper calibration is essential for reliable research results and precise measurements in any scientific or engineering application.
Oscilloscope Calibration Procedure
Now, let’s move on to the critical process of calibrating your oscilloscope to ensure accurate measurements.
To help you understand the oscilloscope calibration procedure, here are two sub-lists:
1. Connecting and Adjusting:
– Connect the probe to the oscilloscope and the reference standard, which is a known and reliable source of signals.
– Adjust the controls on the oscilloscope until the screen waveform matches the reference standard’s known properties. This ensures that the oscilloscope is accurately displaying the signal.
2. Calibrating Various Aspects:
– Calibrate the vertical division using a square wave from the reference standard. Adjust the vertical sensitivity until the waveform matches the expected amplitude.
– Calibrate the time interval by measuring the time between two points on a sample square wave. Adjust the horizontal time base until the estimated time matches the expected time interval.
It’s worth noting that when calibrating your oscilloscope, using alligator clip test probes is recommended for accurate results.
Additionally, you can consider commercial calibration services specializing in oscilloscopes if you prefer a more precise calibration.
The Importance of Calibration
Calibration is crucial in ensuring the accuracy and reliability of your oscilloscope’s measurements. When calibrating an oscilloscope, it’s essential to calibrate the oscilloscope probes. Probes are vital components that directly interact with the measured signal, and calibrating them ensures that they accurately represent the signal’s properties.
A critical aspect of calibration is EML calibration, which stands for External Level Matching. This calibration process involves adjusting the oscilloscope’s controls, such as the common ground, div control, x-pos control, and y-pos control, to ensure that the waveform displayed on the screen matches the known properties of the measured signal.
Referring to the oscilloscope’s instruction manual for specific calibration procedures and intervals is essential. Following the manufacturer’s guidelines will help maintain the accuracy of your measurements over time.
Related Articles
For beginners, understanding how to use a multimeter can be a valuable skill in electronics. It’s essential to know how to calibrate an oscilloscope and calibrate oscilloscope probes for accurate measurements. EML calibration is a crucial step in the calibration process.
Here are some related articles that can help you further enhance your knowledge:
How to Use a Multimeter for the Beginner
– Learn the basics of using a multimeter to measure voltage, current, and resistance.
– Understand the different settings and functions of a multimeter.
How to Measure Current
– Discover how to use an oscilloscope to measure current in electrical circuits.
– Learn about the essential controls and manual adjustments required for accurate measurements.
Guarantee Measurement Accuracy
To ensure accurate measurements, it’s essential to calibrate the oscilloscope and its probes. Calibration involves adjusting the oscilloscope settings to match the known properties of the measured signals.
Start by connecting the probe to the oscilloscope and adjusting the controls until the waveform matches the expected properties. Use a calibration terminal with a voltage label to verify the accuracy of the measurements.
It’s also crucial to consider the testing environment, including the ambient temperature. Make sure the temperature falls within the acceptable range for accurate measurements.
When calibrating the oscilloscope probes, it’s recommended to use an electronics workbench and alligator clip test probes. Additionally, pay attention to the horizontal time settings and ensure they’re set to the mid-range positions.
Master Accurate Measurements
In conclusion, calibrating your oscilloscope is crucial for accurate and precise measurements.
Following the step-by-step procedure outlined in this article, you can ensure that your instrument’s standards match scientific standards.
Continuous calibration is also essential in maintaining instrument reliability.
For seamless calibration services and expert guidance, reach out to EML Calibration. Their professional services and detailed instructions will streamline the calibration process, ensuring optimal performance for your oscilloscope.
Whether you’re a novice or an expert, utilize this comprehensive guide to enhance the accuracy of your electronic measurements. Don’t hesitate—contact EML Calibration today for reliable and precise calibration services that you can trust.